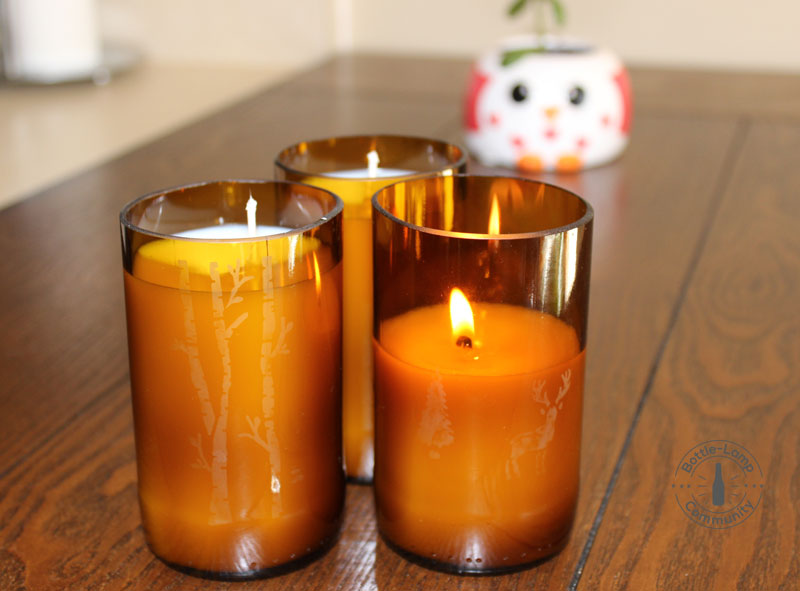
Recycling old glass bottles into lamps has never been easier!
Did you know, you can make a bottle lamp at home with today’s bottle lamp kits? There is a kit for everything these days, lamp making is no exception. You can transform your favorite wine glass bottle or spirit container into an amazing and functioning work of art.
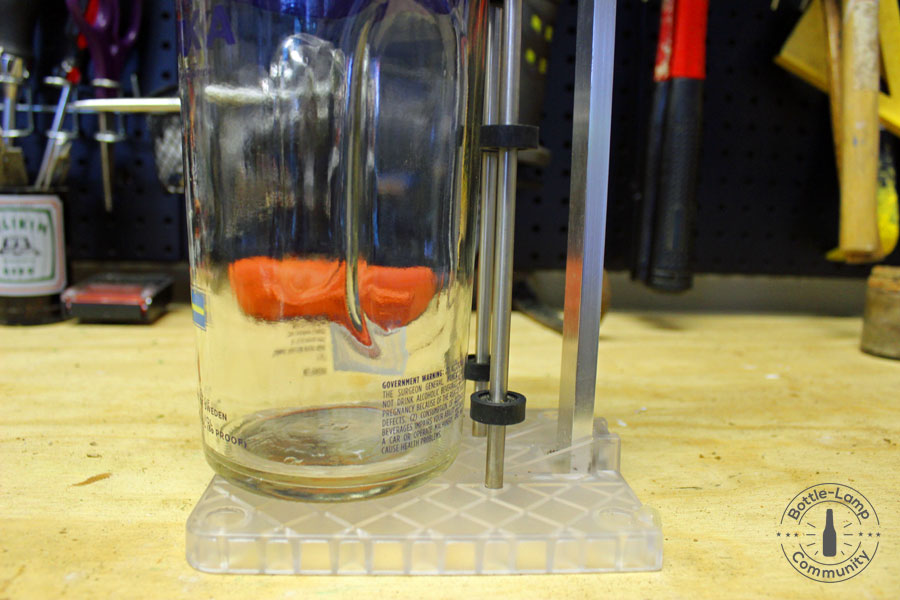
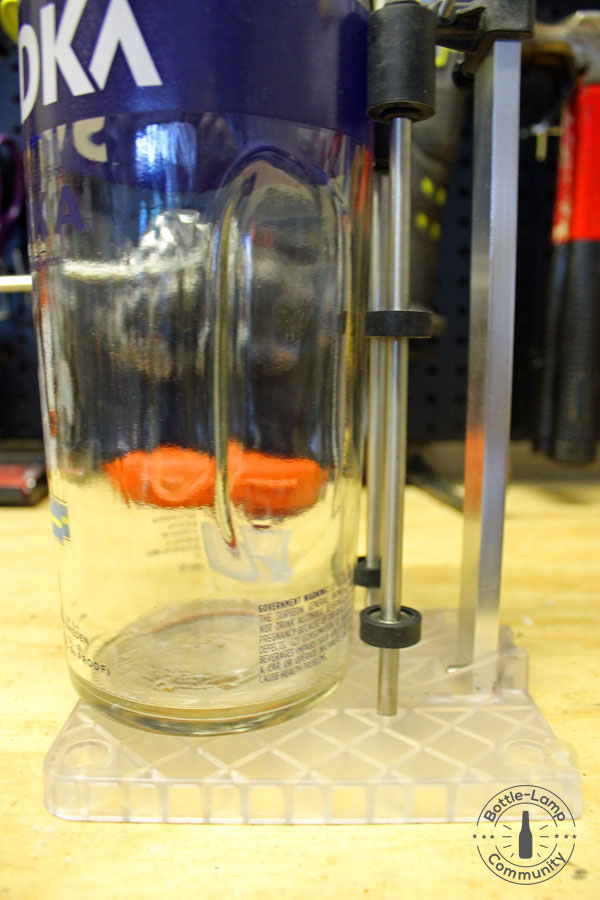
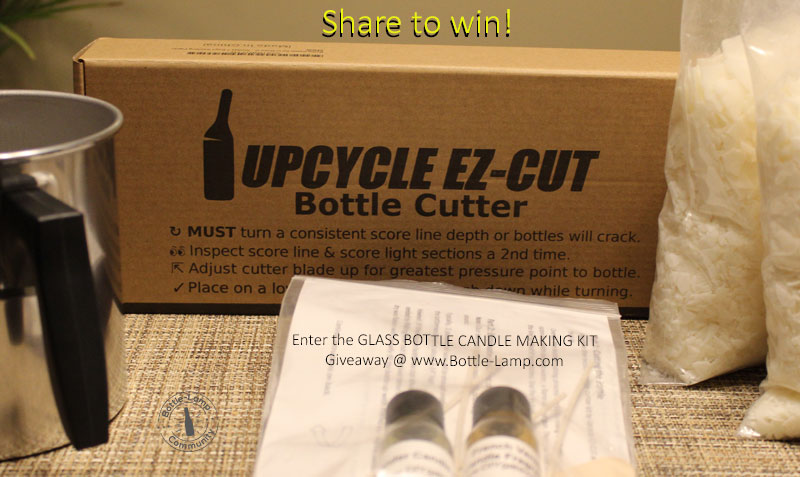
When we first started making bottle lamps with lights at home over ten years ago, the biggest obstacle to overcome was the glass drilling process. Armed with a corded electrical drill and a glass drilling bit, I slowly and methodically began the drilling process. There were heat issues, and yes. we lost a few bottles along the way. Once we had the hang of drilling, installing the light fixture was a breeze. This was accomplished by purchasing a standard lamp kit at the hardware store. Crude, but effective, we made some really cool bottle lamps at home, and even created a few keepsakes along the way.
Fast forward to today’s Bottle Lamp Making.
The bottle lamp crafters have been recognized and the market answered. From lamp kits that offer the option to not drill, to USB chargeable light strings that illuminate glass colored bottles as well. Every angle has been covered and simplified in a way that can be viewed as both good and bad. Learning the technique to drilling was rewarded with a finished art piece.
Today’s lamp kits for bottle lamps have made this whole process less of a hassle (good) and degraded to experience as a whole (bad). Armed with a cordless drill and an arsenal of better equipment, today’s craft maker can emphasize less on the process and more on the overall appearance.
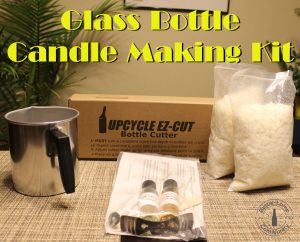
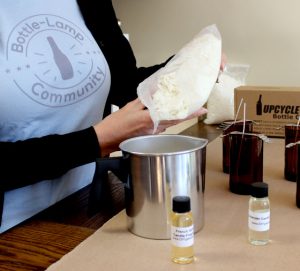
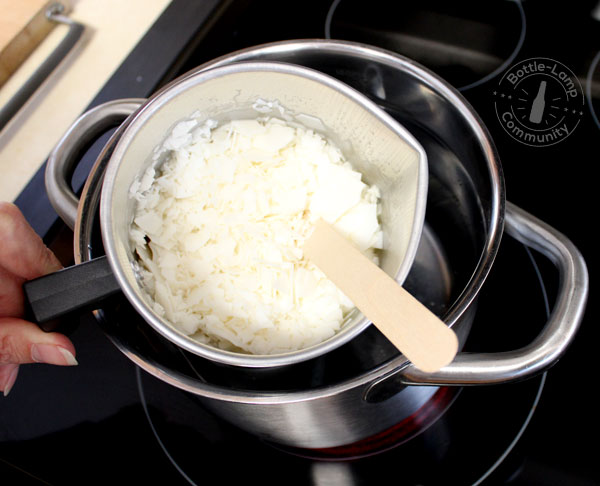
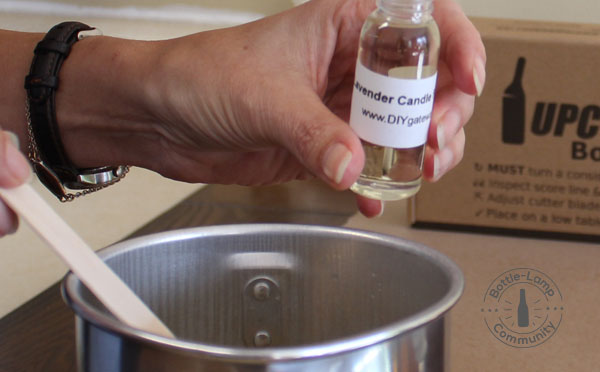
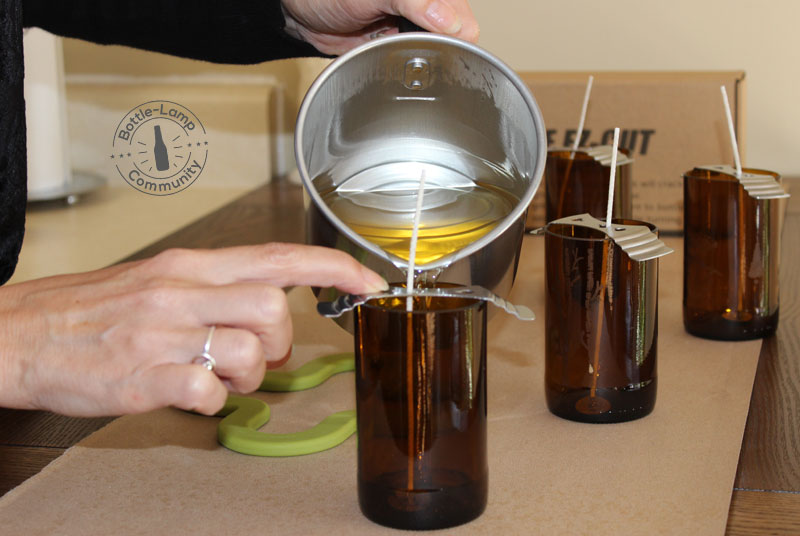
Here’s a list of supplies you will need to make a bottle lamp at home:
- Lamp Shade
- LED Light Bulb
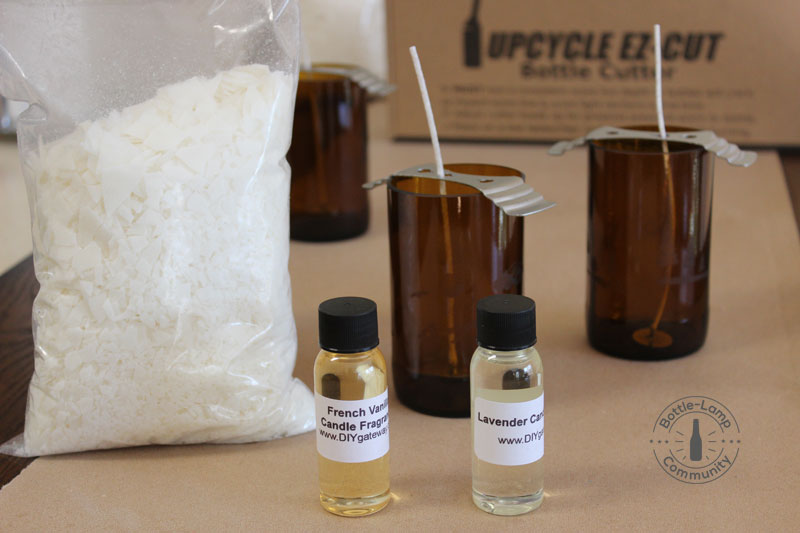
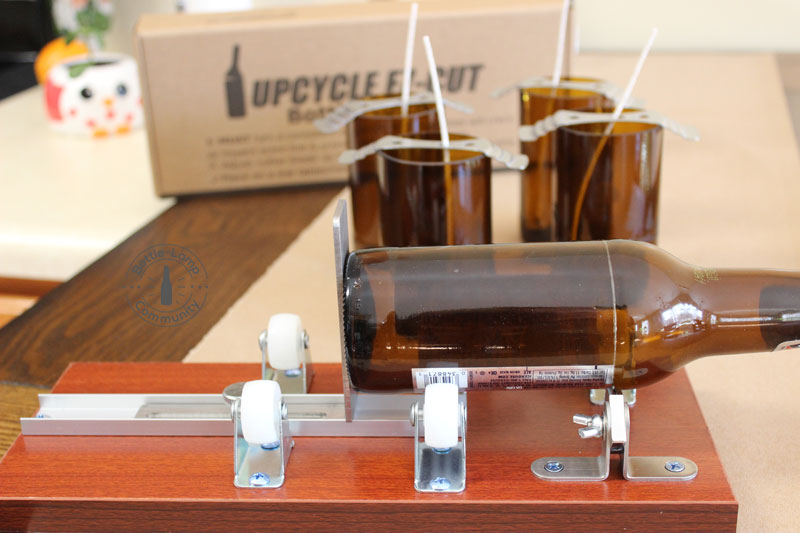
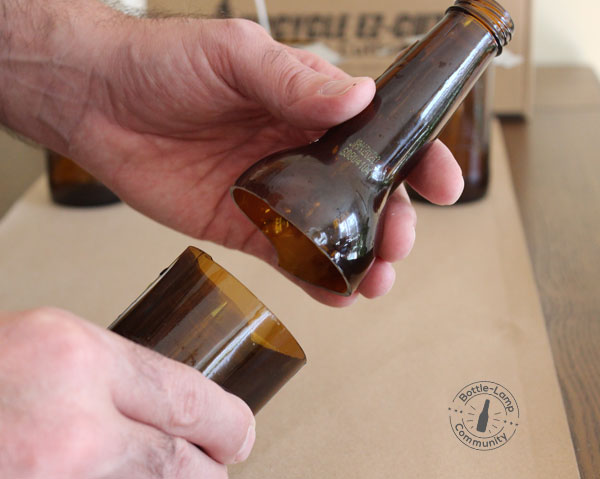
- Bottle Lamp Kit
- Glass Drilling Drill Bits
- Rubber Grommet
You can find most of these items at your local hardware store or check out our resources page for more information.
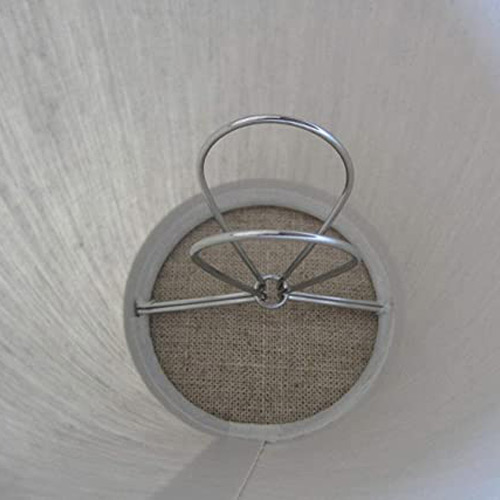
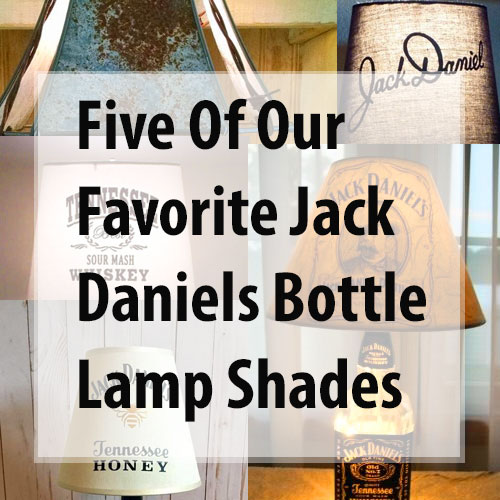
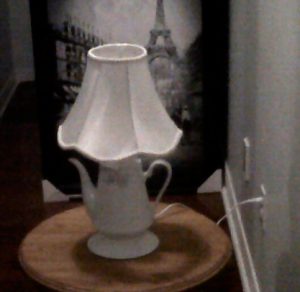
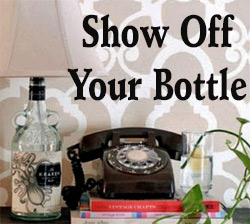
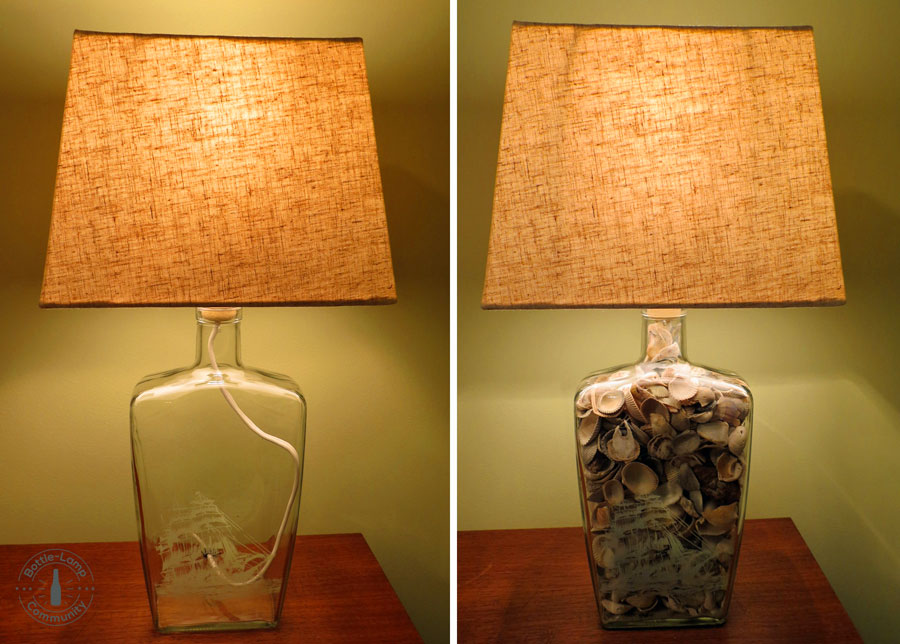
The Lamp Shade listed above is referenced as a ‘chandelier’ lamp shade. The hoops shown in the picture will allow for you to place this particular lamp shade directly on the light bulb for easy assembly. You might be able to find inexpensive lamp shades at your local thrift store as well. It’s fun to add personal touches or funky decorations to a lamp shade as well.
In this article you can learn how to choose the correct lamp shade for making a bottle lamp at home.
All of the bottle lamp making materials listed below may be sold in bulk.
If it is your intent to only create one bottle lamp at home then you will want to make sure the quantities are in line with what you need. There is no need to purchase a pack of ten of anything just to save a few pennies. Making a bottle lamp at home doesn’t have to break your bank account or your piggy bank for that matter.
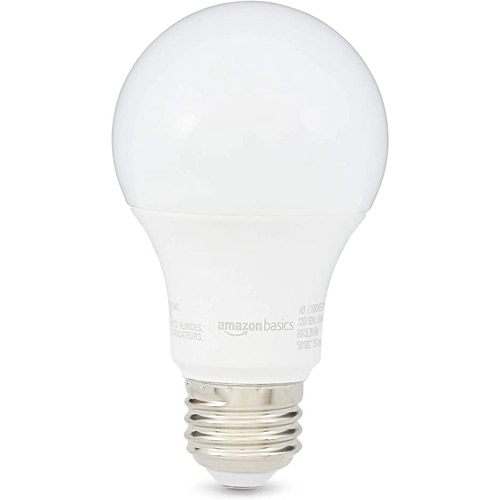
An LED Light Bulb offers energy efficiency and is a safe way to light any home made bottle lamp. This light bulb will never be warm to the touch so you can add all sorts of decorations to your lamp shade.
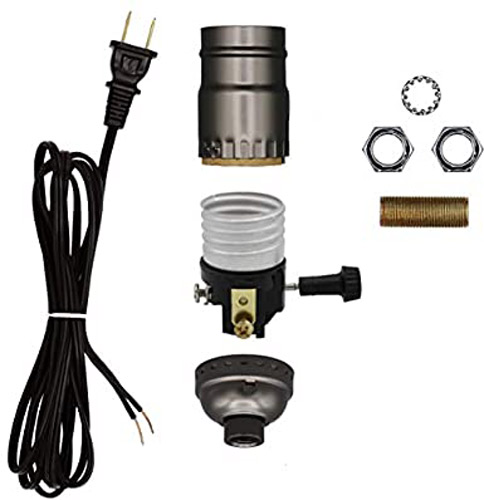
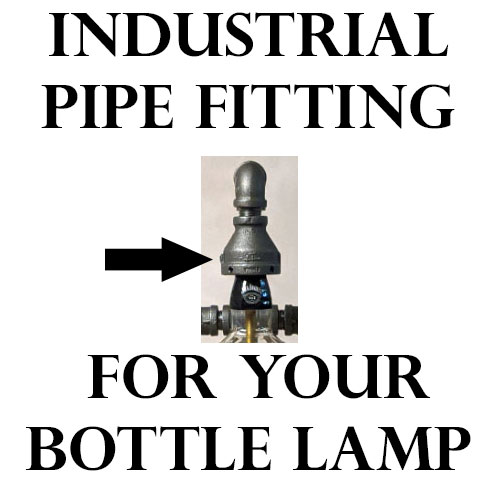
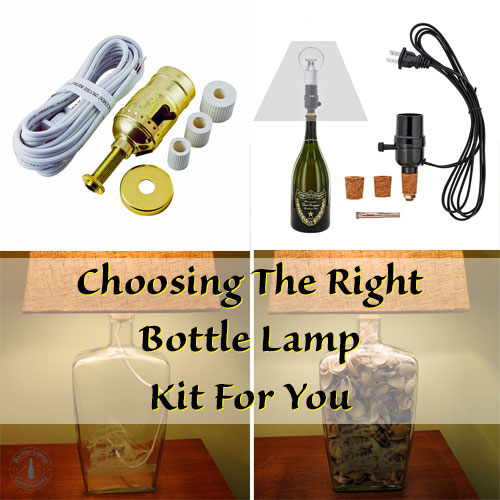
A complete Bottle Lamp Kit for making a bottle lamp at home should include the electrical cord, the light bulb socket, a threaded rod and several tighteners to secure the light to the glass bottle. Learn more about bottle lamp kits in this helpful article.
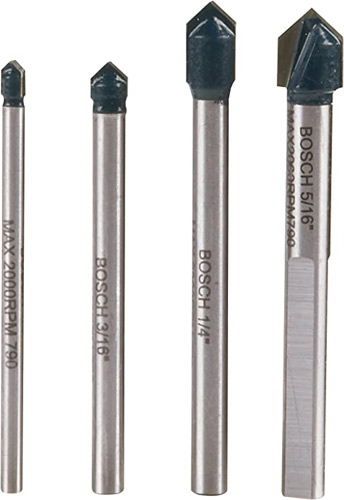
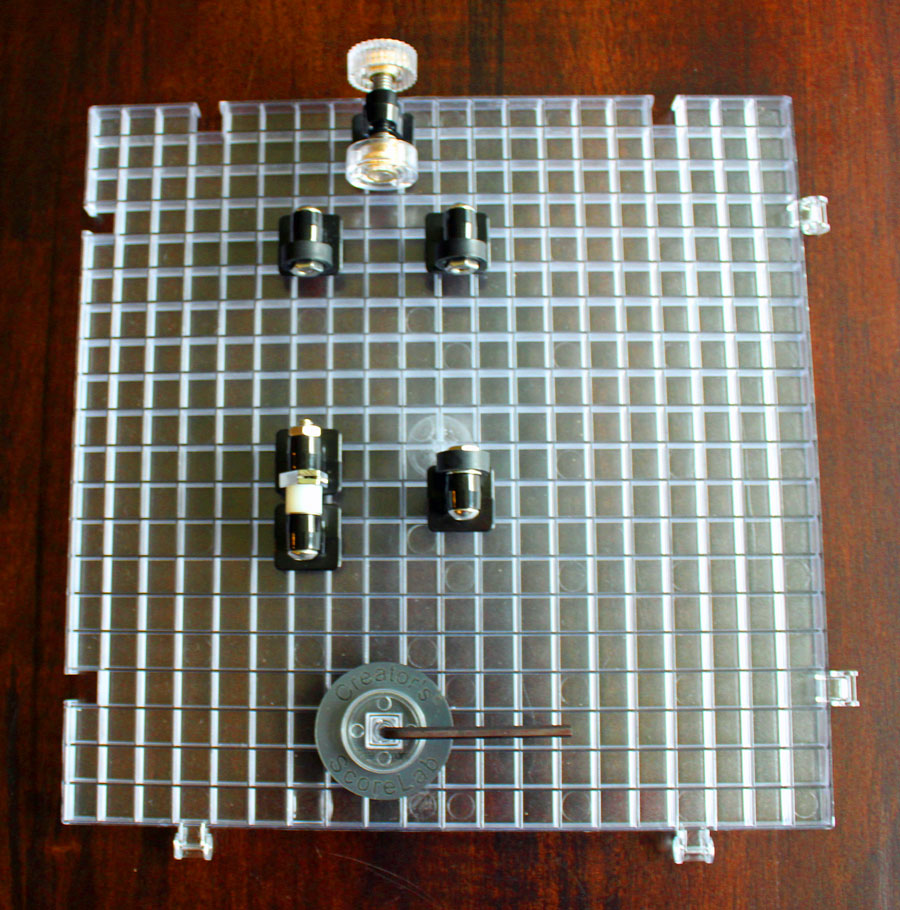
Glass Drilling Drill Bits like the ones pictured here from Bosch are available as a set on Amazon for around $10. Drill bits come in many different sizes, but you really only need the four pictured above.
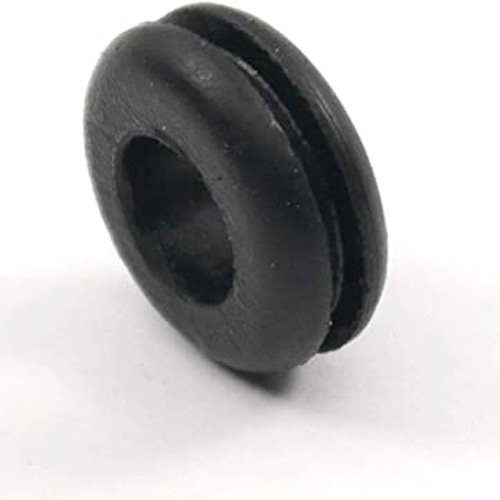
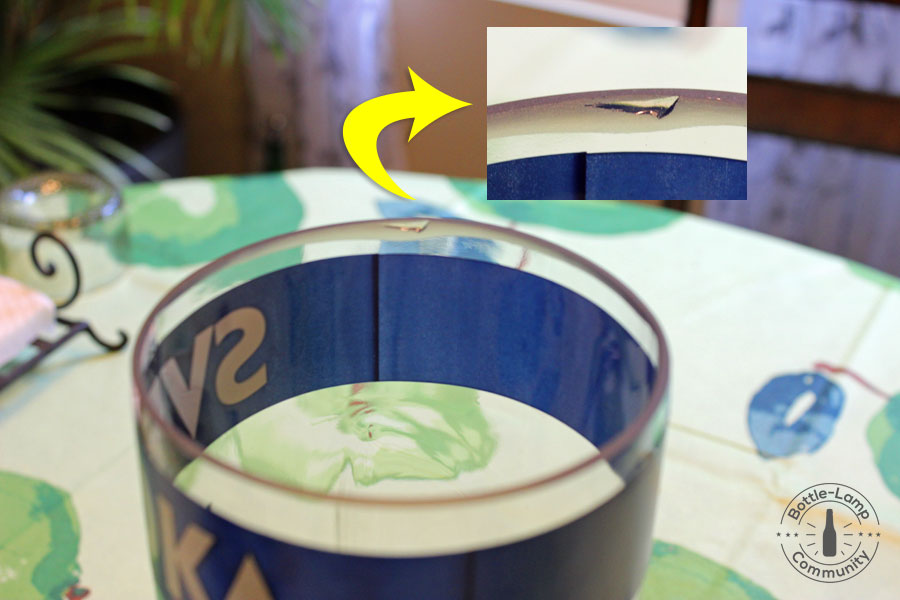
The small Rubber Grommet will protect the electrical cord from the sharp edges of the hole you drilled in the glass bottle. The grommet will also give your homemade bottle lamp a nice finished look and will help to keep any bottle filler from spilling out.
The Tools you will need to make a bottle lamp at home:
- A screw driver
- A corded or cordless drill
- A pair of heavy duty gloves and
- A pair of safety glasses.
In this easy to follow YouTube video we will show you the bottle lamp making process in detail.
Collecting the necessary parts and having these household tools within reach will open new doors of opportunity to explore your inner creative side. Go forth and create, have fun, and be safe.
Nick Jager
To summarize:
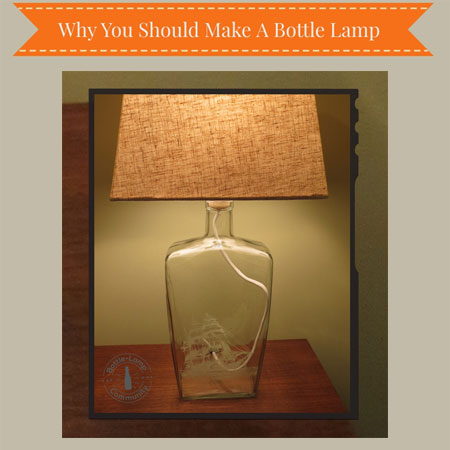
YES, you can make a bottle lamp at home! It is an easy and fairly inexpensive hobby to make bottle lamps, as long as you have the right tools and the proper supplies. You can use an endless variety of empty, clean glass bottles and let your imagination be your guide.
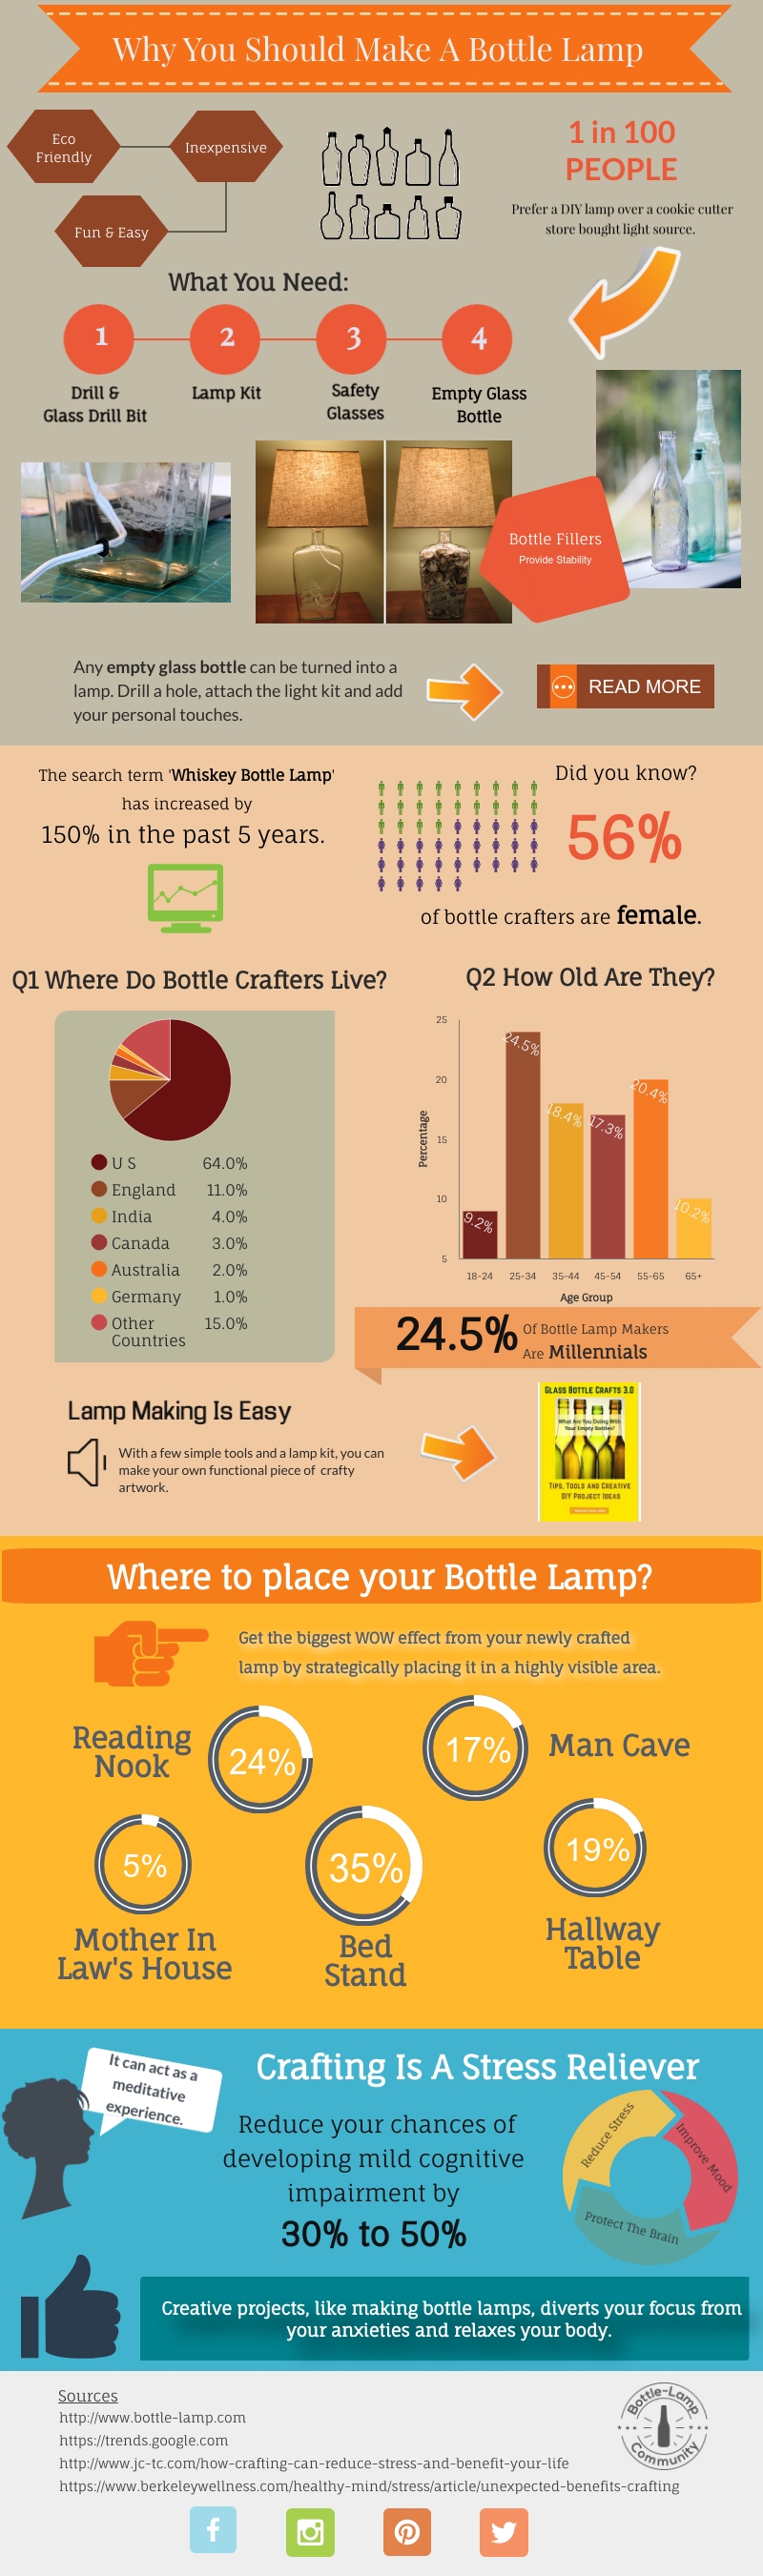
Be sure to check out our DIY Show Off section for inspiration and come back to enter your own bottle lamp creation once it’s completed. Good luck and happy bottle crafting!