When it comes to sanding down your glass bottle projects you will want them to have a nice smooth finish. In the end, having the right tools and a little persistence does pay off.
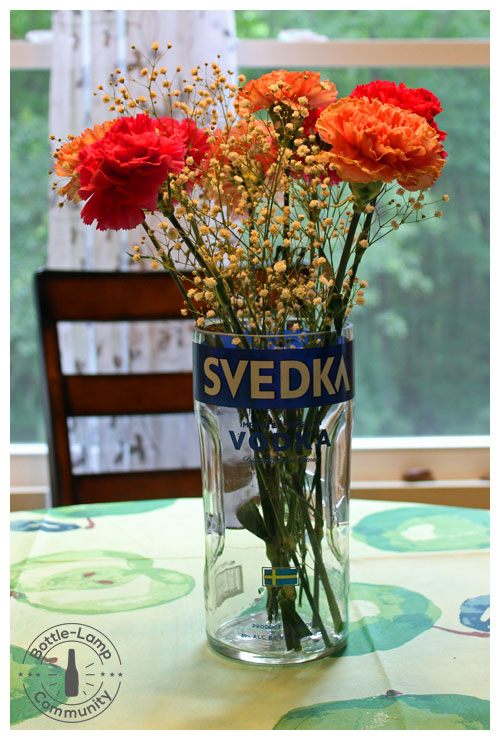
The project – I wanted to score and sand a SVEDKA bottle for a flower vase. What made this project challenging was the shape of the bottle itself. The base is narrower than the top. Hey, If it were easy, anybody could do it.
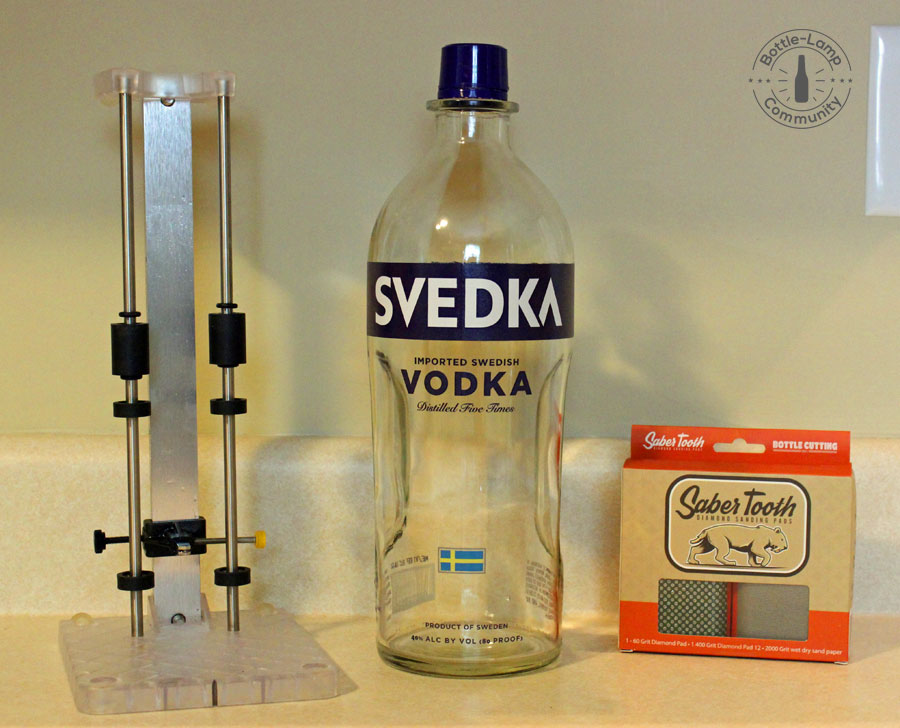
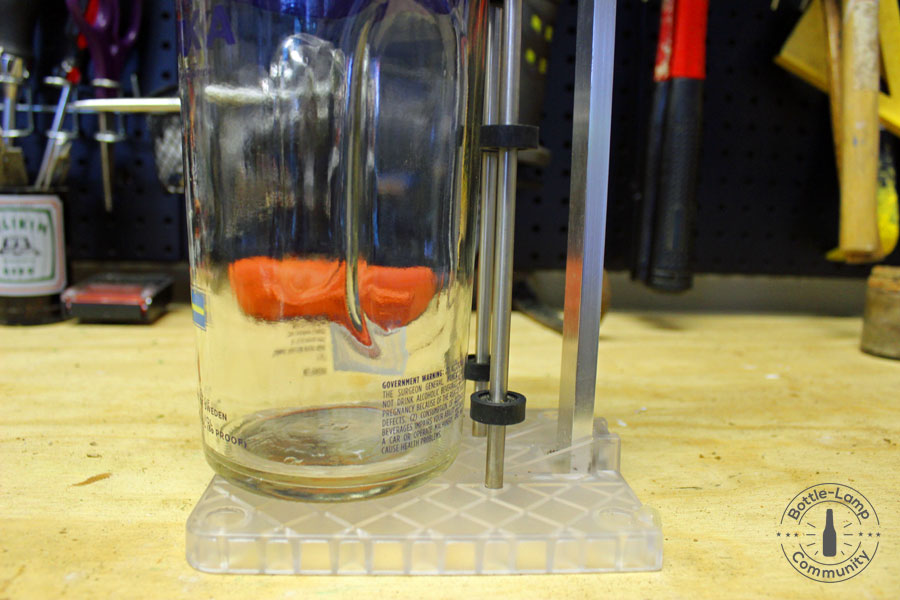
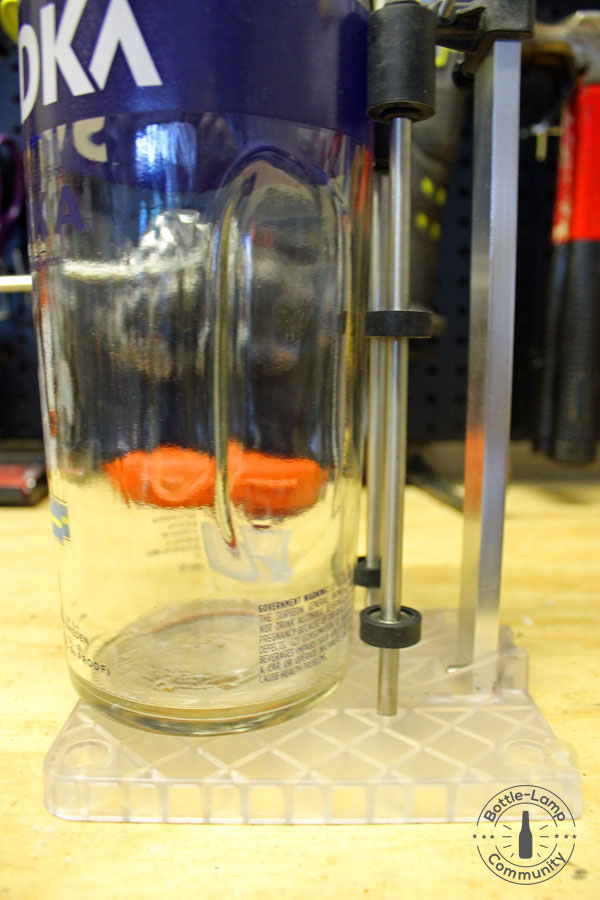
The Score – I went with my tried and true bottle cutter by Creator’s. This particular bottle cutter can handle square bottles by setting it on end. Carrying on with this same technique, I simply set the bottle on end and made sure that my rollers were aligned with the center of the bottle so that it would allow me to rotate it evenly on the scoring wheel
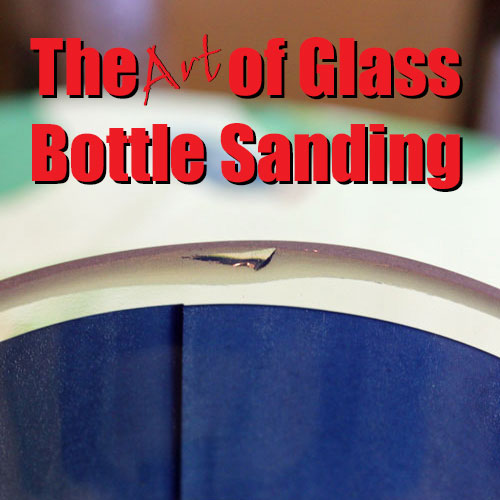
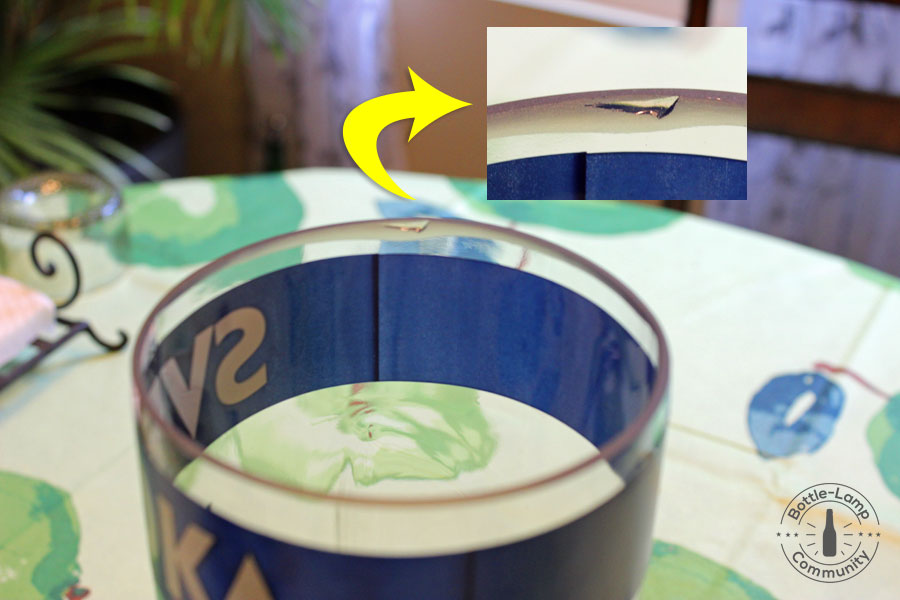
The Separation – Over the years, I have had to throw away numerous bottles because they didn’t separate properly. From beer bottles that literally broke apart to the some of the larger glass bottles that left a huge broken piece out of a section of the rim. This time was the third outcome that always makes me question whether or not I can salvage it. This outcome involves a perfect separation but will have a small shard still left behind. Ugh.
The Sanding – This bottle isn’t too hard to come by but when you’ve come this far and it is so close to being completed, you really hate to just throw the whole thing away. I had just recently replaced my Saber Tooth Diamond Sanding Pads. With five years of use on them, it was definitely time to trade them in. It is amazing how well they lasted. I’ve salvaged quite a few bottles with them and now the new set was ready to tackle my SVEDKA / flower vase project at full capability.
It was nice to work with the new sanding pads again and it made my job easier. This was a huge jag of glass that needed to be sanded down. As of the writing of this post, I got it to look respectable enough for the pictures but I really want to smooth it down even further so that the end result won’t show any of the glass imperfections.
The end result – Overall, this project came together quite nicely. When you look at the top of the bottle you notice that some edges are thinner than other areas. This inconsistency in the glass thickness is usually what gives you trouble during the scoring and separation process. It’s always good to know that you can still save some of these bottles with a little bit of ‘elbow grease‘ and ‘know how‘.